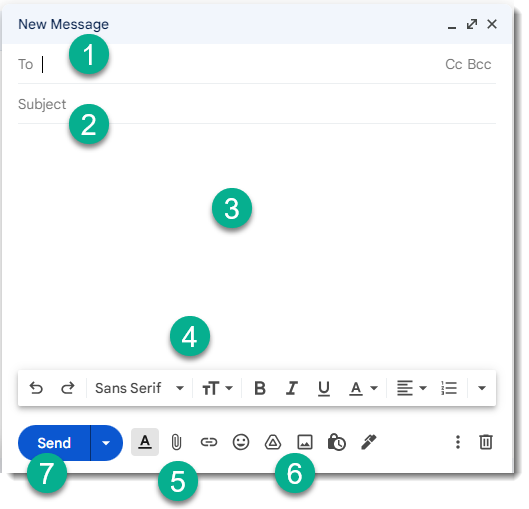
After clicking Compose, you will be presented with the window below where you can enter the following:-
|
Recipients / To |
Here you enter the email address of the recipient or click the
The Cc button can be used to send a copy to other recipients where all recipients can see who it has been sent too whereas the Bcc button hides additional recipients (which is what you should use if sending to multiple recipients) |
|
Subject |
Here you enter the subject (title) of your email message, it is advisable not to leave this blank as many email systems will treat it as junk mail (spam) |
|
Message |
Here you type the main body of your email message |
|
Formatting |
Use this button to change formatting i.e. change font style, font size, bold, underline text etc |
|
Attach File |
Click this button to attach a file or photo to your email message |
|
|
Click here to access various other options to insert links, emoji (smileys), photos, signatures etc |
|
Send |
When you have finished composing your message click Send, or you can click the drop down arrow to schedule when you want the email to be sent |


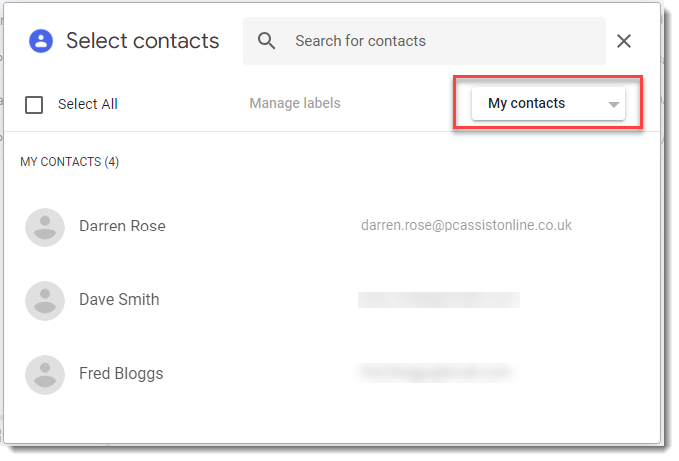
If you click the  button then you will see the Select contacts dialog box as shown below, from here you can then select contacts from your contacts list, or you can use the drop down menu in the right hand corner to select one of your "labels" you have created in your contacts to just send to a specific selection of recipients.